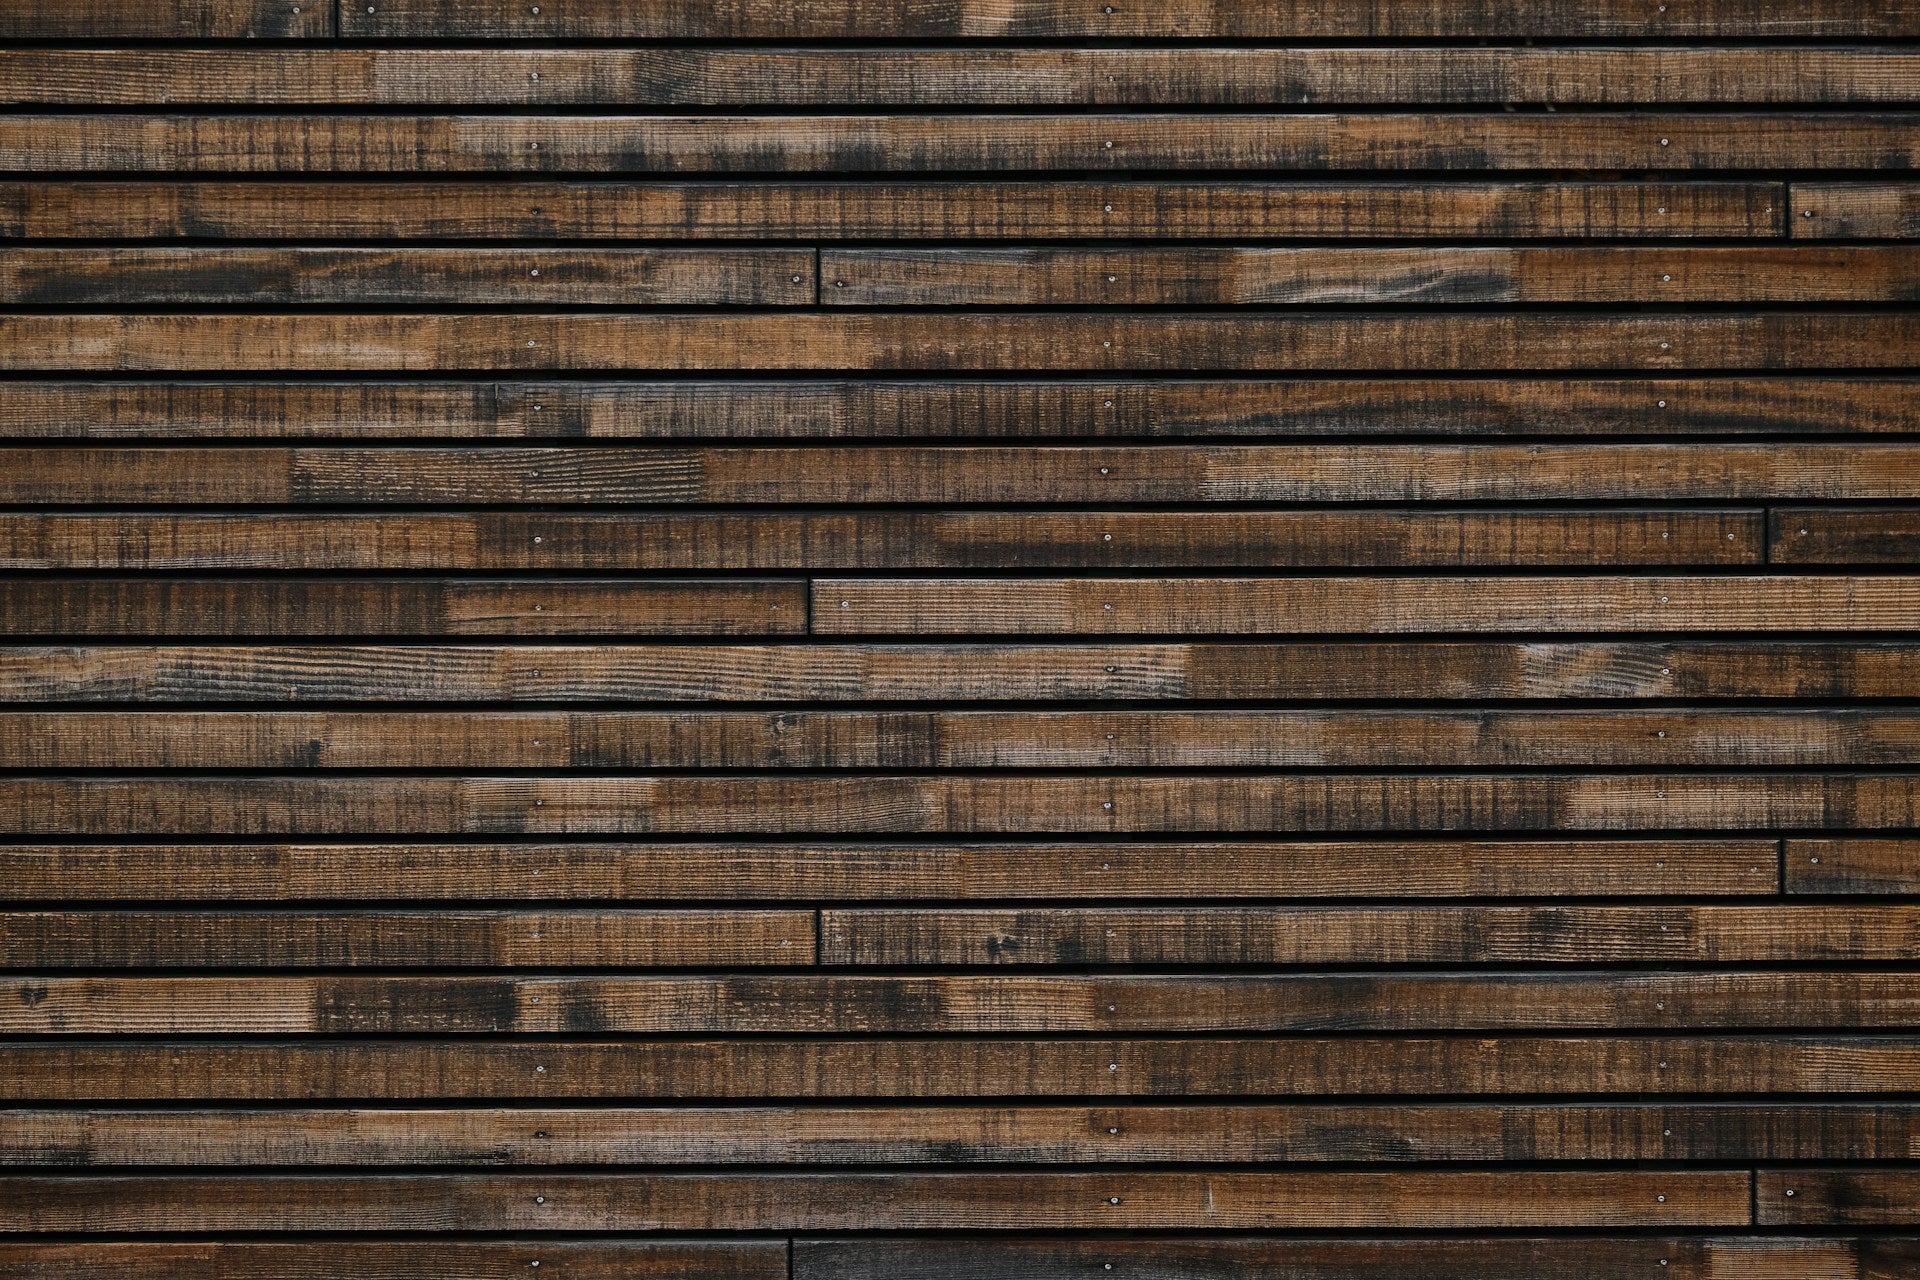
Staggering wood planks on your wall can transform any space, adding warmth and character through natural textures. To achieve this look, start by measuring your wall and cutting the wood planks into varied lengths to create a staggered effect. This method not only enhances the visual appeal but also can make any area feel larger and more inviting.
When it comes to selecting materials, consider using Thermally-Treated Wood Products from Westwood Millworks. Our products offer superior durability and resistance to moisture, making them an ideal choice for long-lasting wall installations. With our expertise in wood craftsmanship, you ensure a polished finish that stands the test of time.
As you embark on this DIY project, remember that the staggering technique not only elevates your design but also allows for easier installation. Follow these simple steps to create a stunning wood plank wall that you can be proud of, perfectly complemented by the quality of Westwood Millworks.
Planning Your Staggered Wood Plank Wall
When planning your staggered wood plank wall, selecting the right materials and accurately measuring your space are crucial. These steps will ensure a visually appealing and structurally sound installation that enhances the look of your interior.
Choosing the Right Wood Planks
Selecting the type of wood is vital for achieving the desired aesthetic and durability. Consider using reclaimed wood planks for a rustic look, or opt for new materials if you prefer a more modern finish. Look for options like oak or pine, which are both durable and readily available.
Make sure your wood is sourced from a reputable supplier. Westwood Millworks offers Thermally-Treated Wood Products, which are not only environmentally friendly but also resistant to warping and pests. This enhances longevity and maintains your wall's appearance.
Choose plank widths between 6 to 8 inches for a balanced look. Remember to consider your wall’s scale; wider planks can create a bold statement, while narrower ones may provide subtle texture.
Measuring and Calculating Materials
Accurate measurements are essential before installation. Start by measuring the wall height and width. Multiply these dimensions to determine the total square footage.
Next, calculate how many planks you will need. A rough estimate is that each square foot typically requires one to one and a half linear feet of planks. Be sure to account for waste during cutting, so purchase an extra 10% of material.
Utilize a level to ensure your first row is straight. This will provide a solid foundation for the subsequent planks. Mark vertical lines on the wall to guide the placement of each plank, ensuring that seams are staggered and visually interesting.
By meticulously planning, you set the stage for a successful and stunning wood plank wall installation.
Tools and Materials Needed
Having the right tools and materials is crucial for successfully staggering wood planks on your wall. This section will provide detailed information on essential cutting, installation, and finishing tools you need to achieve a professional look.
Cutting Tools
For cutting wood planks, you have several options, but the most effective are a miter saw, jigsaw, and table saw.
- Miter Saw: Ideal for making precise angled cuts, it allows you to create clean edges that fit together seamlessly.
- Jigsaw: This is excellent for cutting curves and intricate designs. It’s versatile and easy to handle for small projects.
- Table Saw: Best for straight cuts on larger boards, it offers the precision needed for uniform planks.
Ensure your cuts are accurate, as this impacts the overall appearance. Choose high-quality blades for smoother cuts, reducing the need for sanding. If you’re using Thermally-Treated Wood Products from Westwood Millworks, you can expect durability and stability with every cut.
Installation Tools
Once your planks are cut, you’ll need installation tools to secure them in place. A stud finder is essential for locating wall studs, ensuring that your planks are secure.
- Nail Gun: This speeds up the process significantly and ensures that your finish nails are driven in perfectly.
- Mallet: Helpful for gently tapping planks into place without damaging them.
- Construction Adhesive: Using adhesive along with nails adds extra strength to your installation.
It's important to follow safety guidelines when using these tools to guarantee a successful project. With the reliable wood products from Westwood Millworks, you can trust that your installation will stand the test of time.
Finishing Tools
To achieve a polished final appearance, you’ll need a few finishing tools.
- Primer: This is crucial for preparing the wood for paint or stain, helping to enhance adhesion and durability.
- Finish Nails: Use these to secure the final planks without causing unsightly holes.
- Sandpaper: A variety of grits will help smooth out any imperfections before you apply your desired finish.
Having these tools at your disposal will ensure that your staggered wood plank wall not only looks good but also lasts long. Proper preparation and finishing can make a significant difference, making your DIY project feel professional.
Preparing the Wall
Before you start attaching wood planks, it’s crucial to prepare the wall adequately. This process ensures a smooth installation and a polished final look for your wood plank wall. Focus on the cleanliness of the surface and the layout before proceeding.
Wall Surface Preparation
Begin by cleaning the wall surface thoroughly. Remove any dust, grease, or old paint to ensure proper adhesion. If the wall is uneven or has imperfections, consider using a skim coat to smooth it out. Allow any repairs to dry completely before installation.
Next, check for moisture levels. Excess moisture can damage wood planks over time. If necessary, use a moisture meter to confirm the wall is dry. This step is vital for longevity and maintaining the aesthetic of your wood planks, especially if you choose high-quality options like our Thermally-Treated Wood Products from Westwood Millworks.
Layout and Leveling
Create a layout to visualize how the planks will fit on the wall. Use a measuring tape and level to mark guidelines. Start by marking the center of the wall to ensure a balanced look. From this point, extend lines vertically and horizontally.
When placing the first plank, ensure it is level. An unlevel installation can lead to complications later on. If baseboards are in the way, consider removing or cutting them for a snug fit. This meticulous attention to layout will save you trouble during installation, allowing for a clean and professional finish.
Installing the Wood Planks
When installing wood planks on a wall, it’s essential to ensure each piece is cut to fit properly and secured effectively. Staggering the planks will enhance the visual appeal of your feature wall, creating a dynamic look.
Cutting and Fitting Planks
Begin by measuring your wall accurately and planning your layout. Use a miter saw for precise cuts. When cutting the planks, consider a mix of full-length and shorter pieces to create seamless transitions while staggering.
You may find it helpful to create a small template. This can assist with fitting each piece during installation. Place the first row along the bottom, ensuring it’s level. Utilize the offcuts from one row to start the next; this minimizes waste while promoting an organic appearance.
Securing Planks to the Wall
To secure the planks, you can use a nail gun for a quick, stable application. Apply adhesive on the back of each plank before fastening it to the wall for additional support. It ensures that everything remains securely in place.
Start with a full-length plank in the second row. Press it to the wall and check for alignment. It’s crucial the plank is horizontal; adjust as necessary to maintain levelness. Continue this process, staggering each row appropriately.
Staggering the Planks for Visual Appeal
Staggering is key to adding visual interest. Ensure that the joints of your wood planks do not line up vertically. A good rule of thumb is to stagger the joints by at least two joists.
Consider a pattern or layout that appeals to you, whether it’s a random arrangement or a more structured design. This approach not only enhances your feature wall but also showcases the natural beauty of your wood planks.
For high-quality cuts and exceptional finishing, choose Westwood Millworks for your thermally-treated wood products. Our expertise ensures durability and elegance in every project.
Finishing Touches
After installing your wood planks, adding finishing touches significantly enhances the overall look. Key areas to focus on are the application of primer and sealant, as well as the installation of baseboards and trim for a polished finish.
Applying Primer and Paint/Sealant
Start by selecting a quality primer designed for wood surfaces. This step ensures the wood is sealed and enhances paint adhesion. Apply the primer evenly with a brush or roller, covering all exposed wood thoroughly.
After the primer dries, choose a paint or sealant that complements your design. For a natural look, clear sealants highlight the wood grain while providing protection. If you want color, select a paint suitable for wooden surfaces. Remember to apply two coats for durability, allowing sufficient drying time between each coat.
Installing Baseboards and Trim
Baseboards and trim are essential for achieving a finished look. Measure the perimeter of your wall to determine how much baseboard material you need. When selecting your baseboards, consider options from Westwood Millworks for high-quality Thermally-Treated Wood Products, known for their durability and aesthetic appeal.
Use finish nails to secure the baseboards in place against the wall. Ensure they are level and flush with the floor. Once installed, caulk the edges where the baseboard meets the wall for a seamless appearance. Finally, paint or stain the baseboards to match your planked wall, creating a cohesive design.


Leave a comment
This site is protected by hCaptcha and the hCaptcha Privacy Policy and Terms of Service apply.